Essential Tools and Techniques for Expert Plastering in your home
Essential Tools and Techniques for Expert Plastering in your home
Blog Article
A Comprehensive Overview to Learning Plastering Skills for Your Remodelling Requirements
Crucial Devices and Products
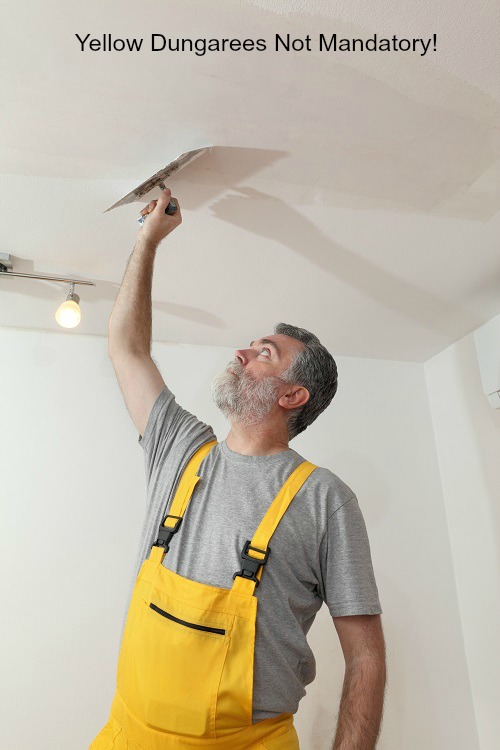
In the world of plastering, having the right tools and materials is extremely important to accomplishing a remarkable finish. Numerous essential tools serve distinct objectives, ensuring effectiveness and precision throughout the plastering procedure. A premium trowel, for example, is crucial for applying and smoothing plaster, while a hawk provides a steady system for holding the material. A joint knife is likewise important for thorough work, particularly in edges and corners.
In enhancement to tools, choosing the ideal plastering materials is essential. Gypsum-based plasters are generally preferred for their flexibility and simplicity of usage, while cement-based alternatives are suitable for exterior applications because of their longevity. Water and bonding agents play considerable roles in attaining correct consistency and attachment, making sure that the plaster adheres successfully to the surface area.
Additionally, protective gear such as goggles, masks, and gloves is important to secure against dust and irritation throughout the application process. By assembling the ideal mix of tools and products, plasterers can boost their capability and generate premium finishes, inevitably raising the total craftsmanship of their job.
Preparing Surfaces for Smudging
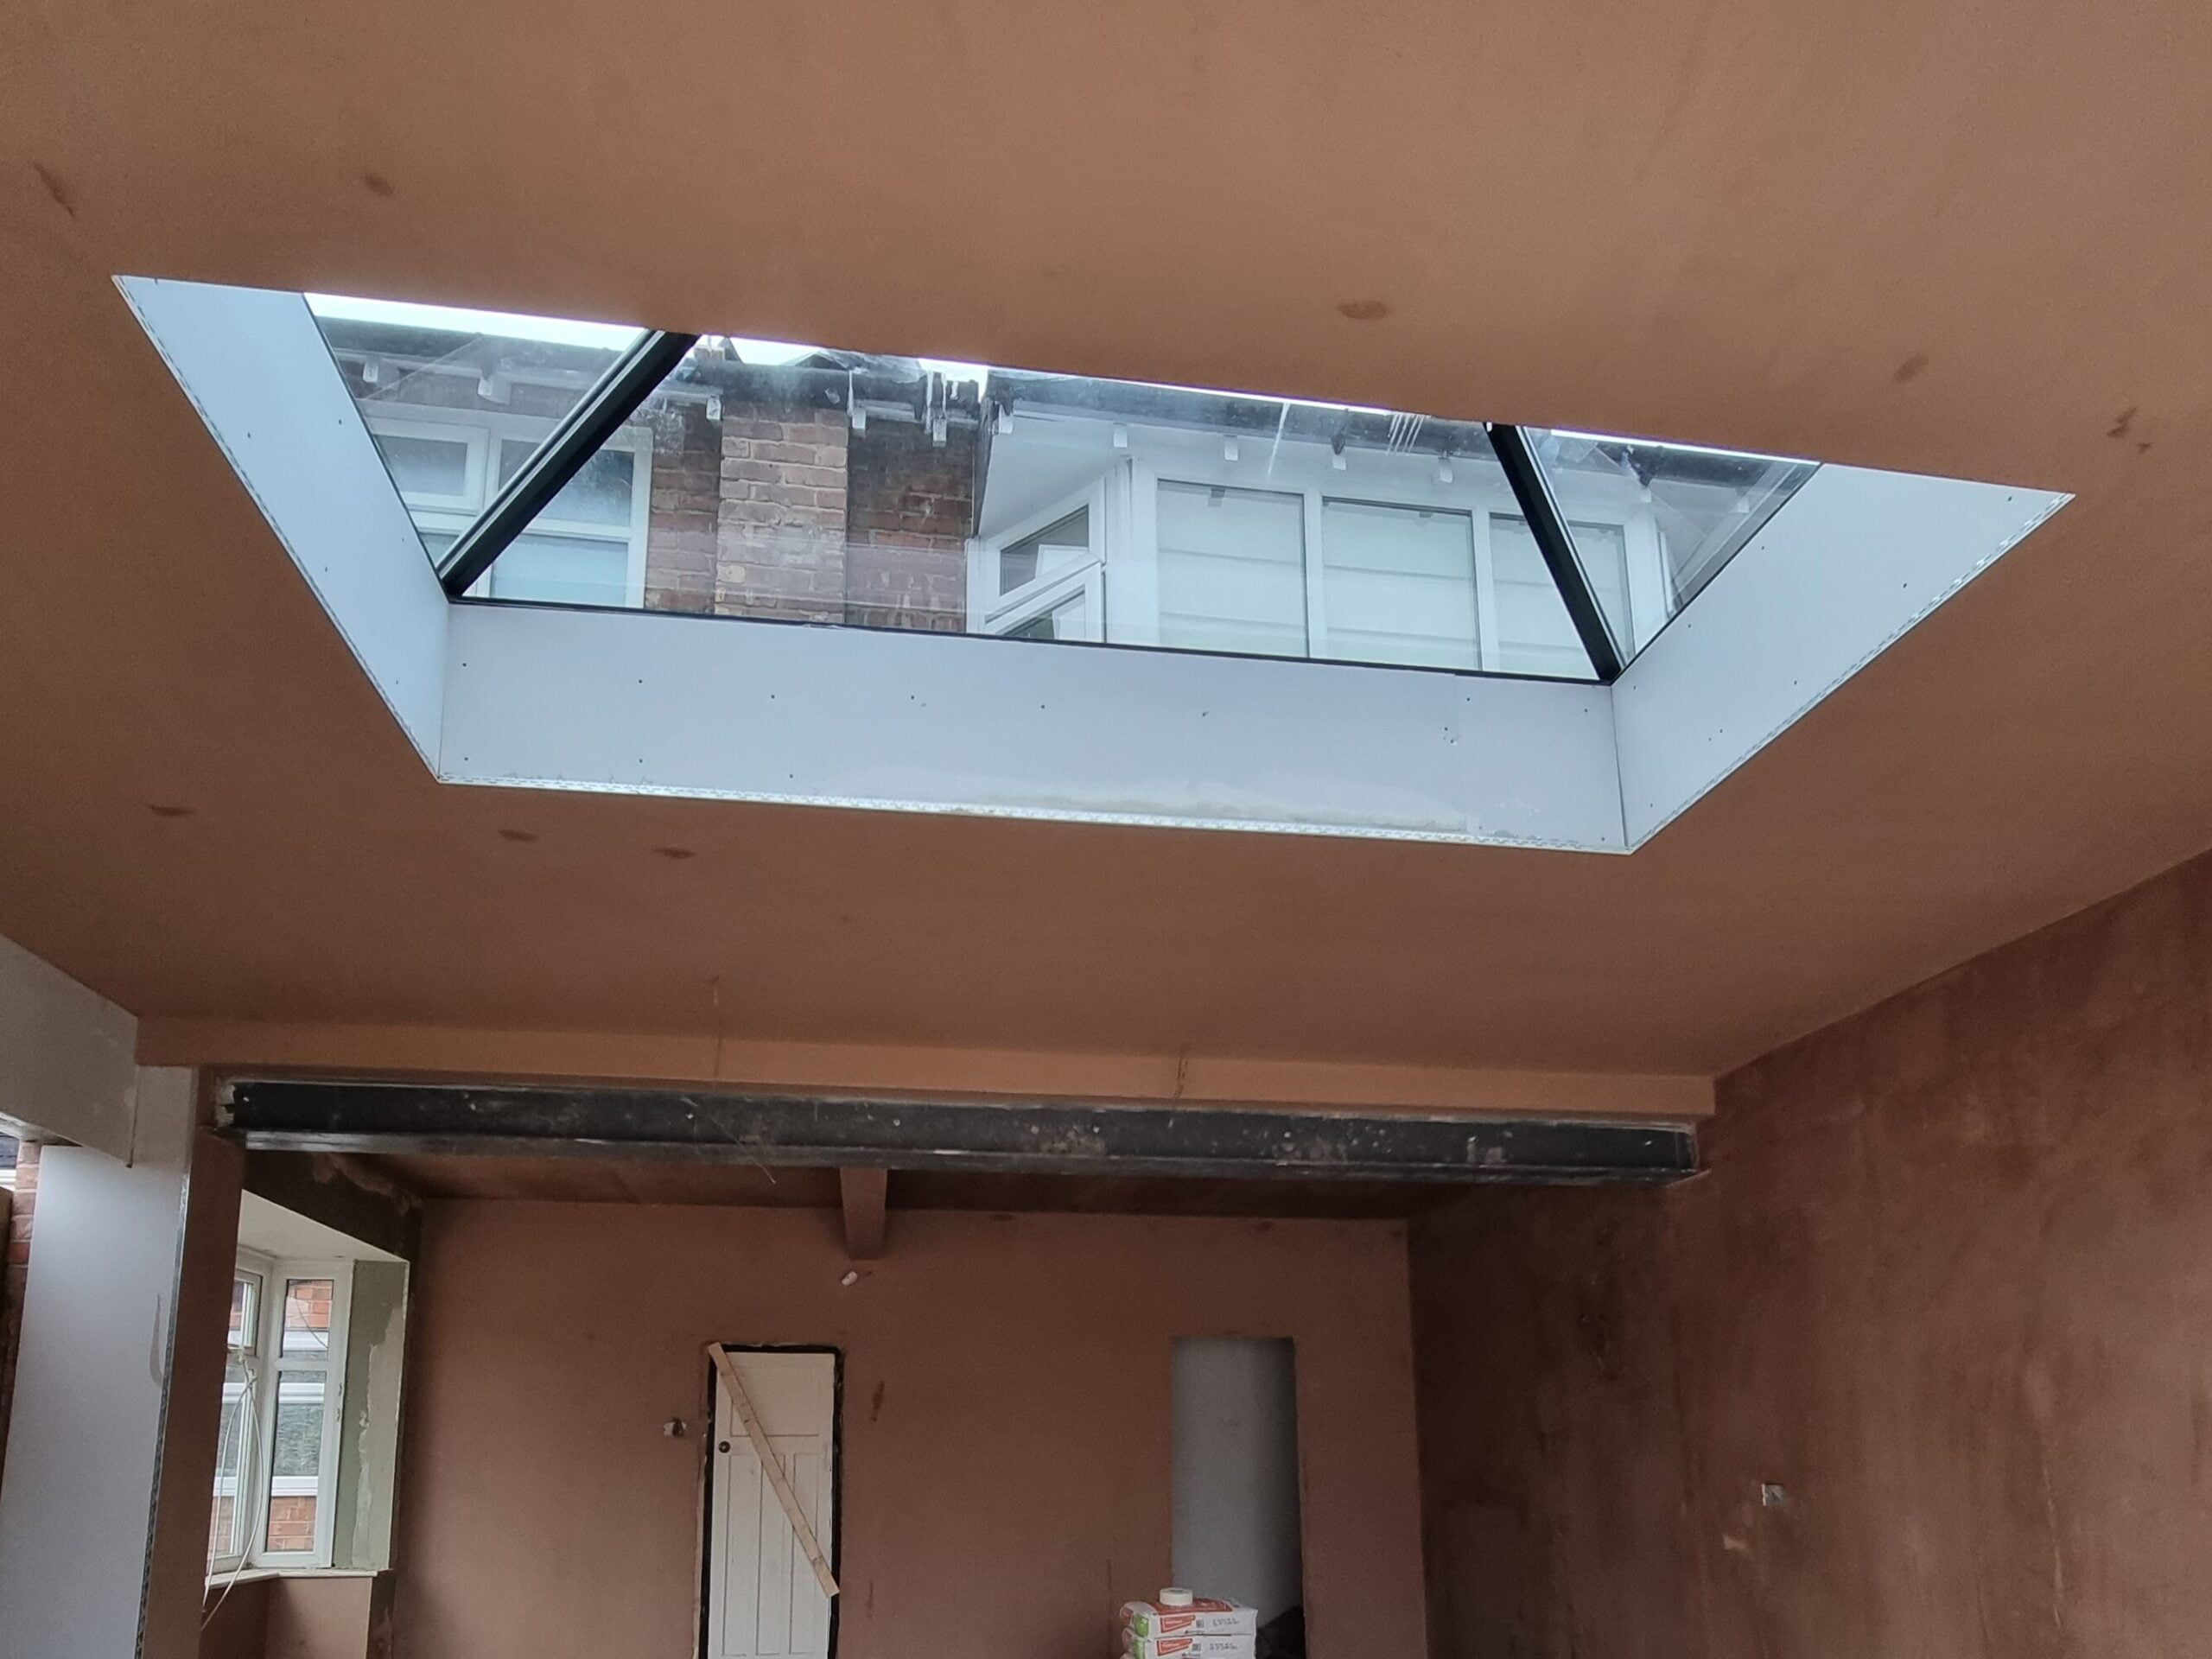
Accomplishing a smooth and durable plaster surface begins with precise preparation of the surfaces to be glued. This fundamental step is essential to making certain adhesion and the durability of the plaster. Beginning by evaluating the problem of the substratum-- whether it is stonework, concrete, or drywall-- getting rid of any loosened paint, dirt, or particles that may disrupt bonding.
Following, fix any blemishes such as openings or cracks. Utilize an appropriate filler to accomplish a degree surface; this can be vital for protecting against future problems. As soon as repaired, make certain the surface area is clean and dry, as moisture can endanger plaster adherence.
For permeable surfaces, it is suggested to use a bonding agent. This product enhances attachment and develops a dependable interface between the plaster and substrate. If collaborating with formerly plastered surfaces, it might be necessary to mess up or sand the area lightly to supply a secret for the new plaster layer.
Plastering Strategies and Tips
Understanding smudging techniques calls for both ability and technique to achieve a remarkable finish. One crucial method is the application of the plaster in multiple thin layers, rather than a single thick coat. This technique enables much better attachment and minimizes the threat of splitting. Start with a base layer, ensuring it is equally spread and leveled with a hawk and trowel. Use a straightedge to inspect for any kind of flaws before going on this content to subsequent layers.
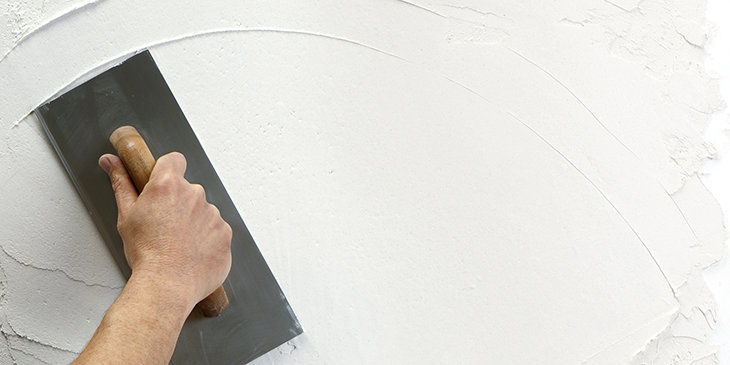
When applying the surface layer, employ a troweling method that entails holding the trowel at a minor angle and working in a round movement. This helps to develop a smooth surface area and minimizes the appearance of trowel marks. Furthermore, maintain a spray bottle of water useful to mist the surface gently; this keeps the plaster workable and enables smoother completing.
Timing is essential; work successfully, as the plaster starts to Get More Information establish. When the plaster has firmed up however is still wet, use a damp sponge to gently smooth the surface area even more. Lastly, enable ample drying out time prior to fining sand or painting, ensuring your effort leads to a specialist, top notch finish.
Typical Blunders to Prevent
Another usual mistake is using plaster too thickly. Overzealous applications can cause fracturing and long term drying out times. It's crucial to use plaster in thin, even layers, permitting each coat to dry adequately prior to adding a lot more.
Additionally, not utilizing the right devices can prevent the quality of the finish. Using unsuitable trowels or mixers can develop inconsistencies in the gluing process. Always go with premium devices created for plastering tasks.
Finally, numerous individuals ignore the importance of timing. Functioning in inappropriate temperature levels or humidity degrees can detrimentally affect plaster drying out and curing. It is a good idea to inspect weather and adapt your routine accordingly.
Finishing Touches for an Expert Look
The lasts of a plastering job are critical for accomplishing a sleek, expert look. Once the plaster has dried out completely, the following step is to evaluate the surface for imperfections. Small bumps, openings, or unequal locations need to be resolved utilizing fine sandpaper or a fining sand block. This careful attention reference to detail is necessary for ensuring a smooth surface.
After sanding, it's recommended to clean up the surface to eliminate any dirt and debris. A wet fabric is effective for this purpose, followed by an extensive drying out period. If needed, using a slim layer of finishing plaster can boost the surface even more, giving a smooth surface.
Once the ending up plaster is dry, an additional round of fining sand might be required to achieve the preferred smoothness. Ultimately, think about applying a primer before paint or wallpapering, which will certainly enhance adhesion and sturdiness.
Final Thought
Grasping smudging skills considerably enhances the high quality of remodelling tasks. A complete understanding of vital tools, surface preparation, and reliable techniques is vital for accomplishing specialist outcomes.
Water and bonding agents play significant functions in achieving correct consistency and bond, making sure that the plaster sticks effectively to the surface. Plastering.

Additionally, maintain a spray bottle of water useful to mist the surface lightly; this maintains the plaster workable and permits for smoother completing. (Plastering)
If necessary, using a slim layer of finishing plaster can enhance the surface additionally, supplying a smooth finish.
Report this page